Studio Office Cabinet Progress — Cubby Bridge Basic Build
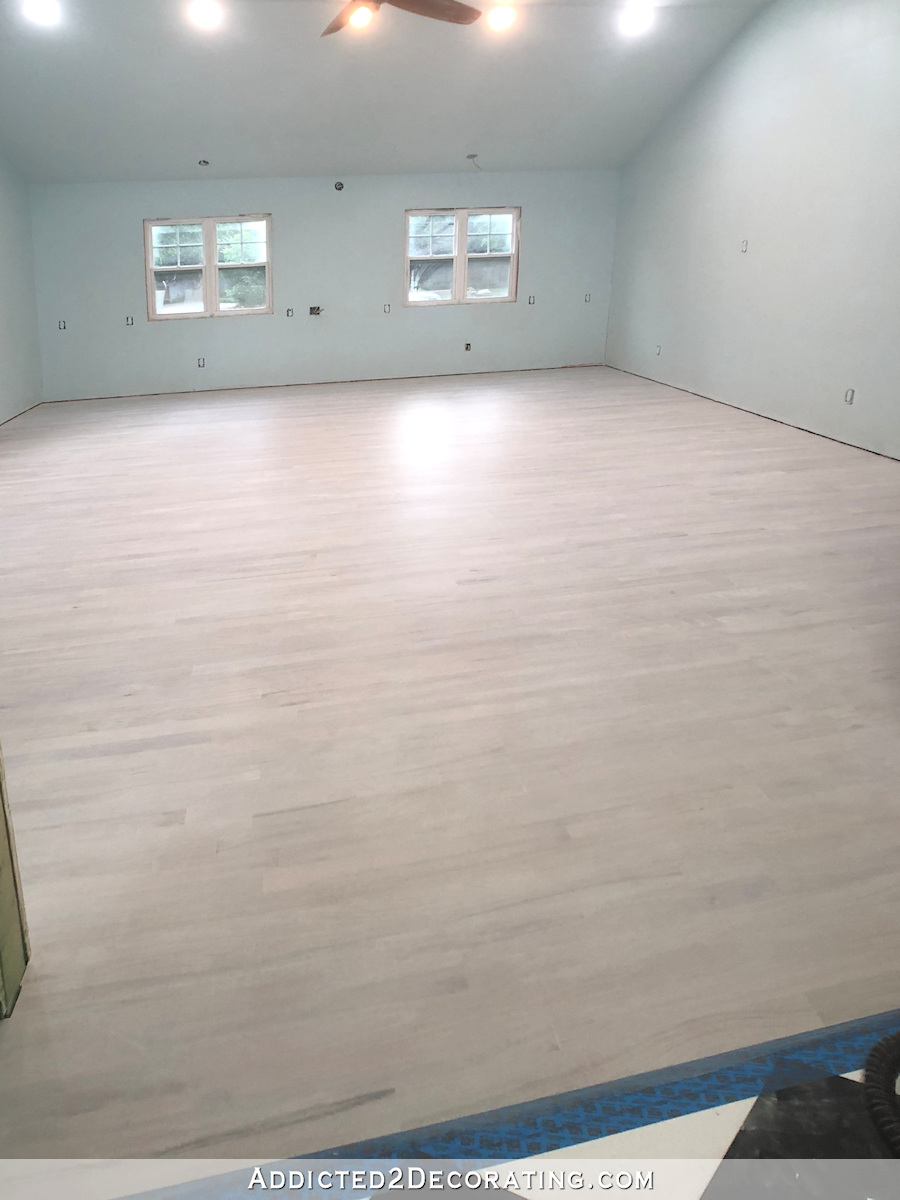
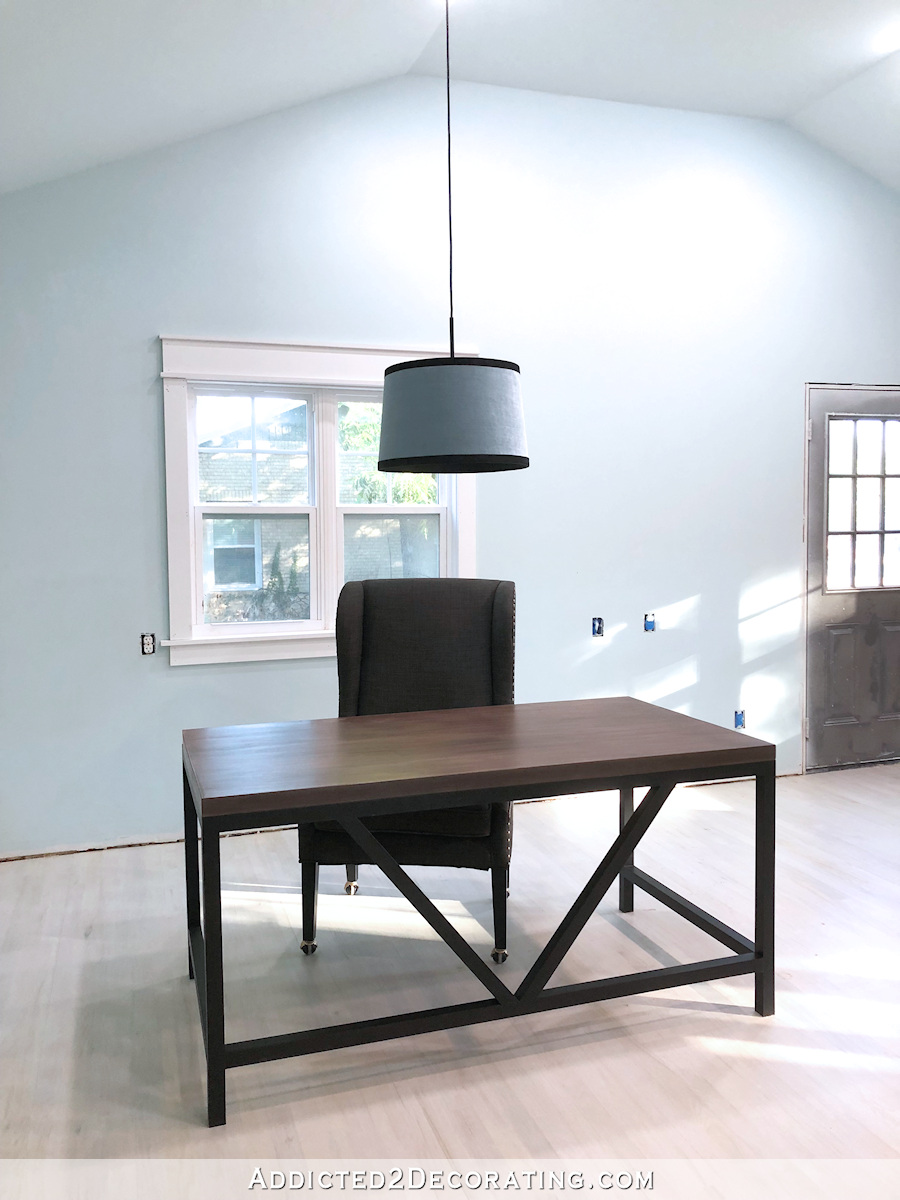
I did it! I built the cubby bridge on my studio office area cabinets all by myself yesterday, and I couldn’t be more thrilled with how this section is turning out! As a reminder, here is the goal…

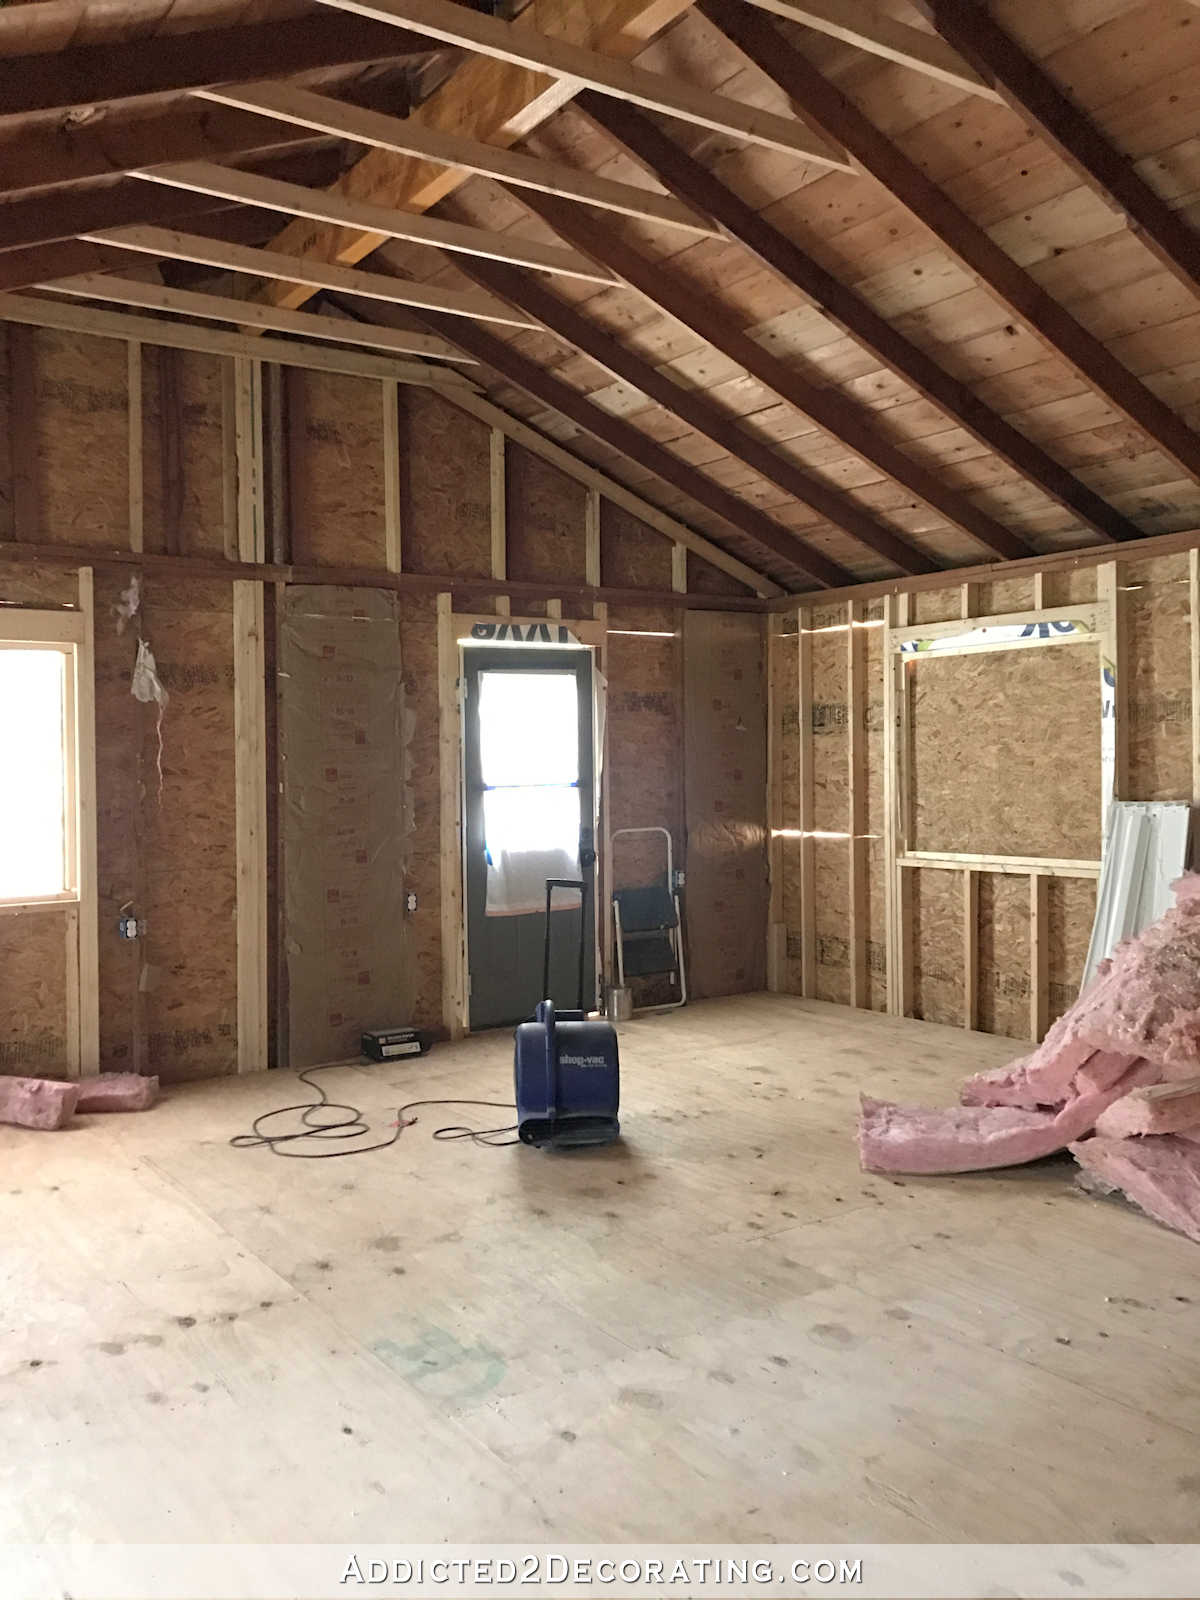
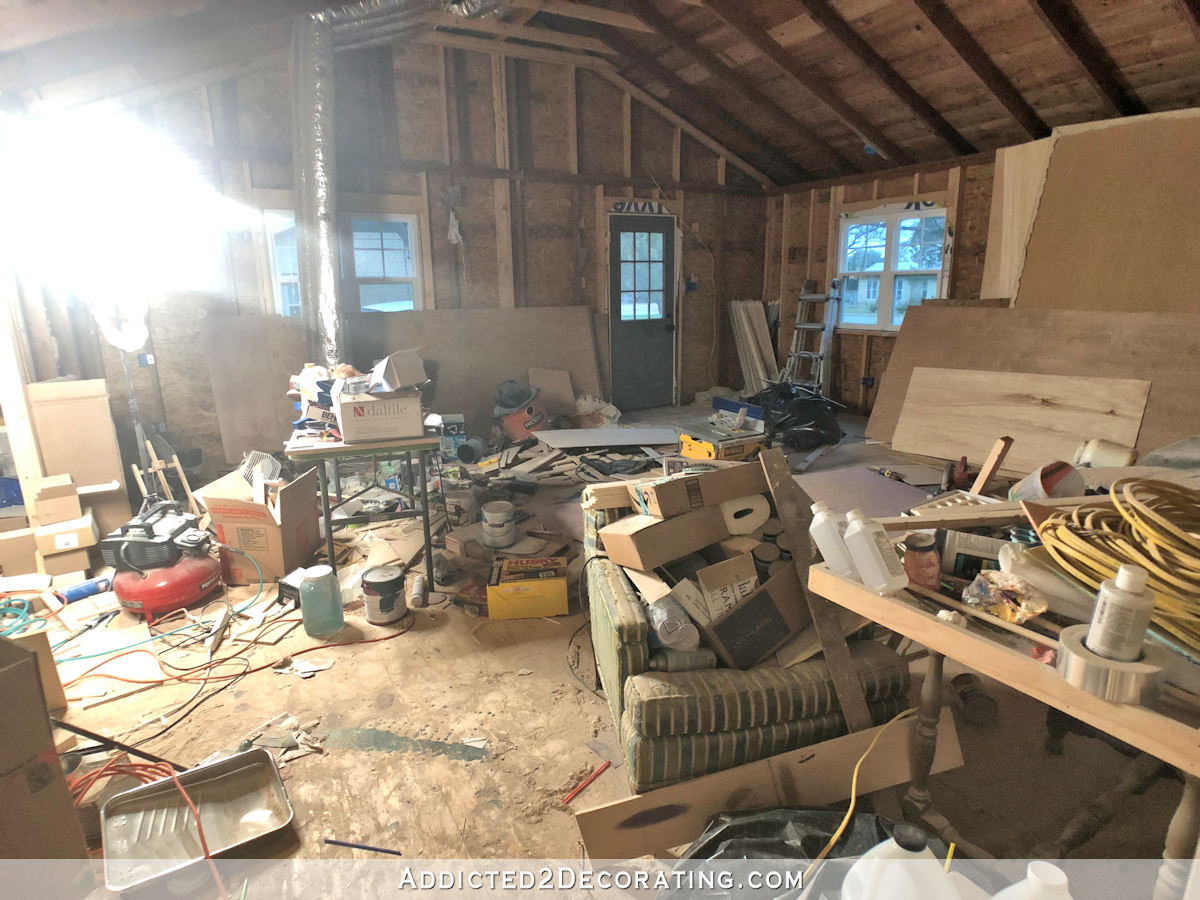
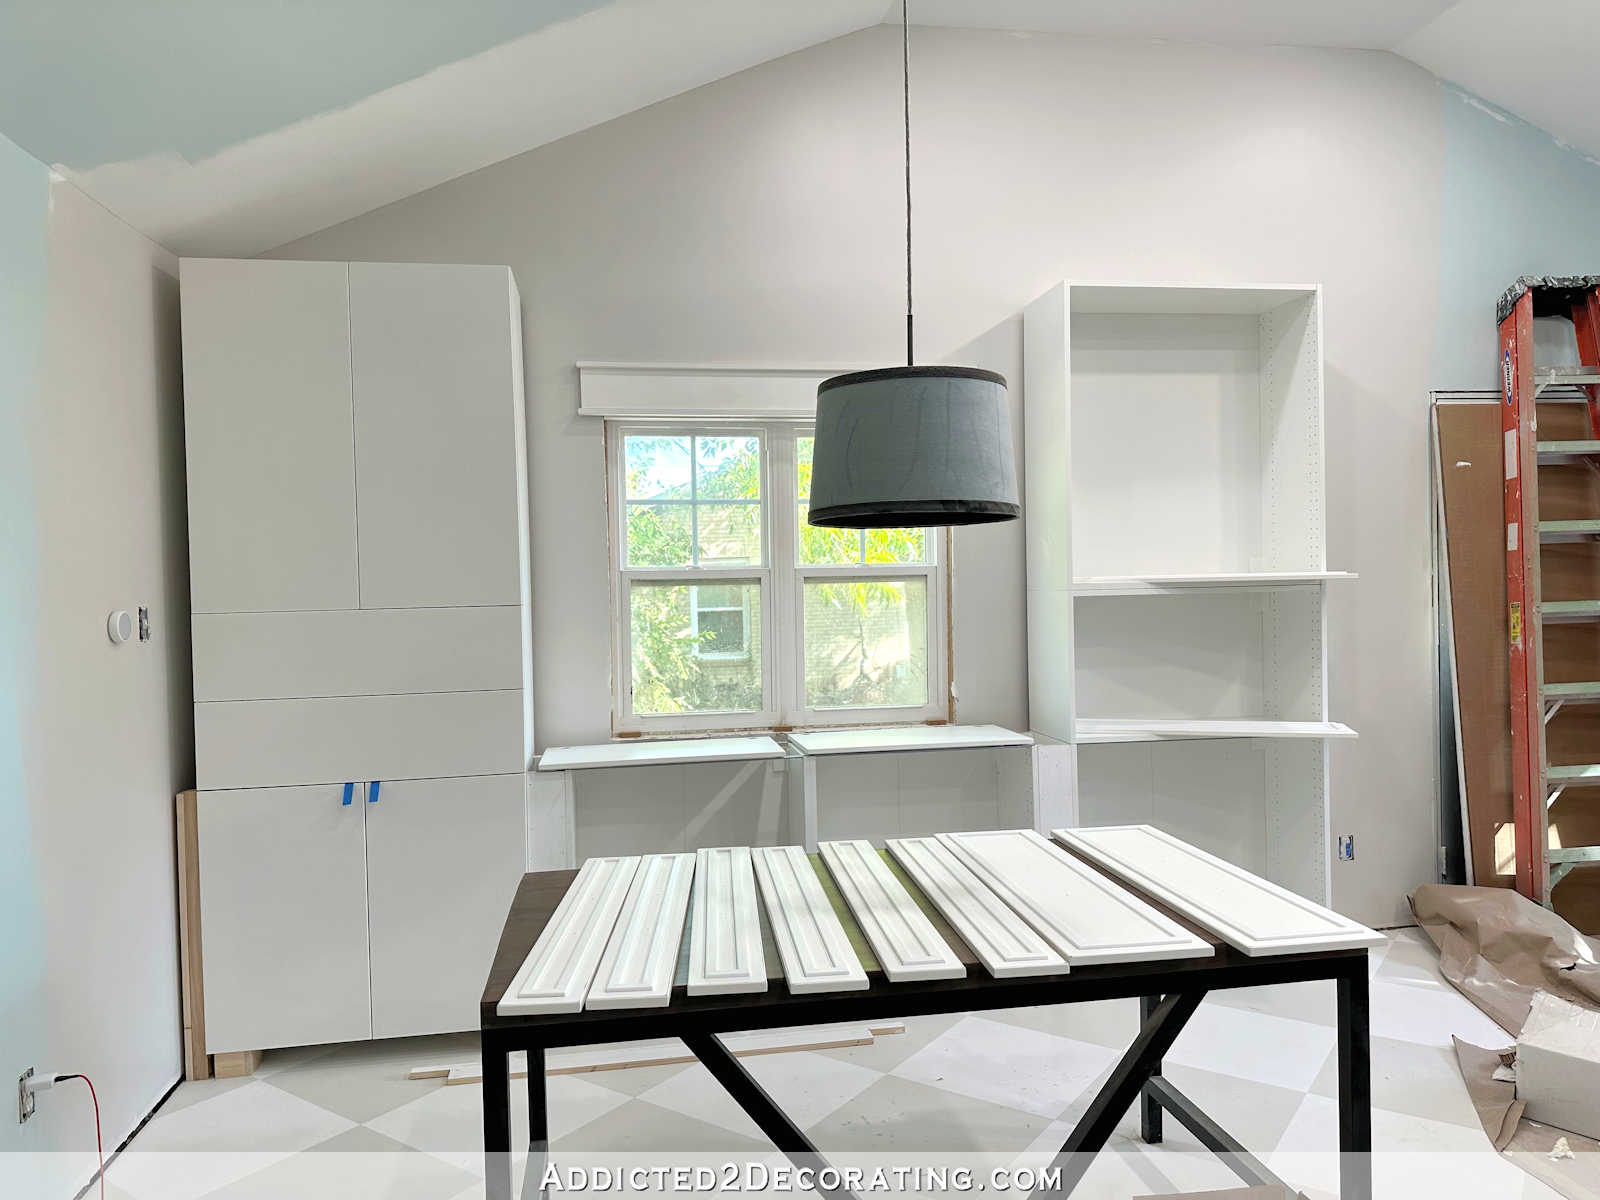
And at the start of the day yesterday, this is how the cabinets in that area of the room looked…

The actual cabinets (the white parts) are IKEA Sektion cabinets, and I’m in the process of customizing them. This has been a multi-post project just getting them to this point, so I’ll link the previous posts at the bottom of this one.
When it came to building the cubby bridge, my initial thought was the build it in the carport, and then bring it inside and screw it to the sides of the cabinets. But I work alone. For those who are new around here, my husband Matt has M.S. and is completely unable to help me with projects. And while there are several people who would be willing to come and help me, I really hate to bother people for things like this. Plus, I’m fiercely independent, and I thrive on figuring out how to do things myself.
So that was the challenge. How do I build a cubby bridge, and then hoist the thing up there by myself while trying to screw it into place? The answer? I DON’T! Instead, I decided to build it in place. That seemed like the most “work smarter, not harder” solution to me. Here’s how I did it…
First, I measured and marked where I wanted the bridge to be attached to the side cabinets, and I attached a piece of scrap wood to the side of the cabinet with the top edge of the board along the line I just marked. This ledger board is temporary, and I attached it using three 1.5-inch 16-gauge nails.

And then I repeated that process on the other side.

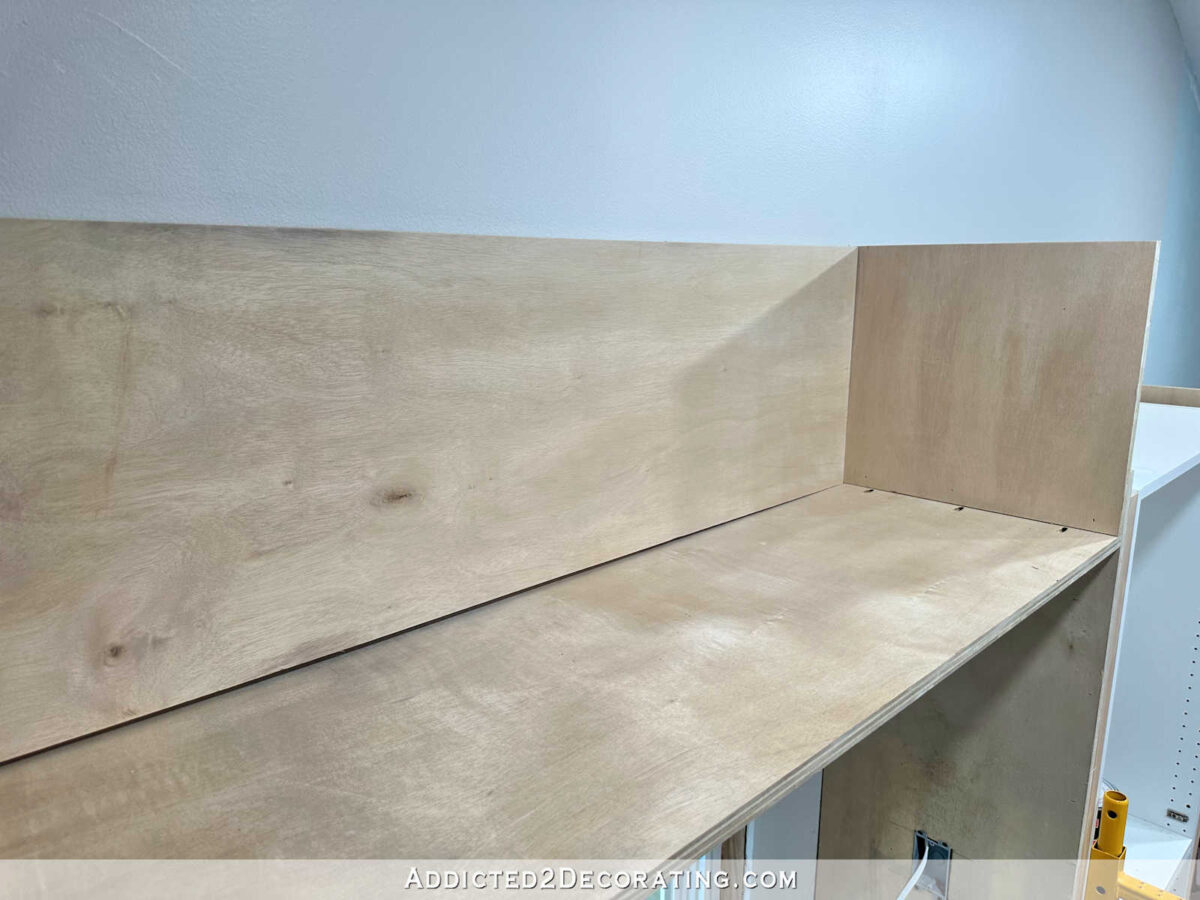
With my temporary ledger boards in place, I measured and cut a piece of 3/4-inch plywood for the bottom of the cubby bridge. It took a couple of tries to get the fit just right, but on the second try, it fit perfectly between the side cabinets and rested on the ledger boards. You can see that it bows down a little bit in the middle, but I wasn’t worried about that. That will be corrected later in the buiding process.

After fitting that piece, I removed it and drilled three pocket holes on each end. These pocket holes are on the top of the board, not the bottom. The bottom is visible when standing in the room, and I don’t want visible pocket holes, and I don’t like having to fill pocket holes on areas that will be visible.

To drill the pocket holes, I used my Kreg Pocket Hole Jig. This is the one I have (affiliate link), and it is worth every penny. If you want to build furniture or cabinets, this tool is a must-have item!
So again, I drilled three pocket holes on each end of that piece, making sure I drilled the holes on the top of the piece.

At this point, I brought my scaffolding in to make the whole building process much easier. This is the one I have (affiliate link — also available at Home Depot), and it is yet another thing I bought recently that I wonder how I lived without for so long!
So standing on the scaffolding, I placed the plywood piece back on the temporary ledger boards, pocket holes facing up, and I screwed the piece into the side of the tall cabinets.

With that secured in place, it looked like this. The bow in the middle was still there, but I wasn’t worried about it at this point. I just wanted to make sure that it looked level with the trim at the top of the window.

Once I was sure it looked level, I removed the temporary ledger boards. That did leave three nail holes on each side that I’ll have to fill and sand, but I’m okay with that. We DIYers who work alone have to do what it takes, and filling and sanding six small nail holes is a small price to pay for getting this job done by myself.

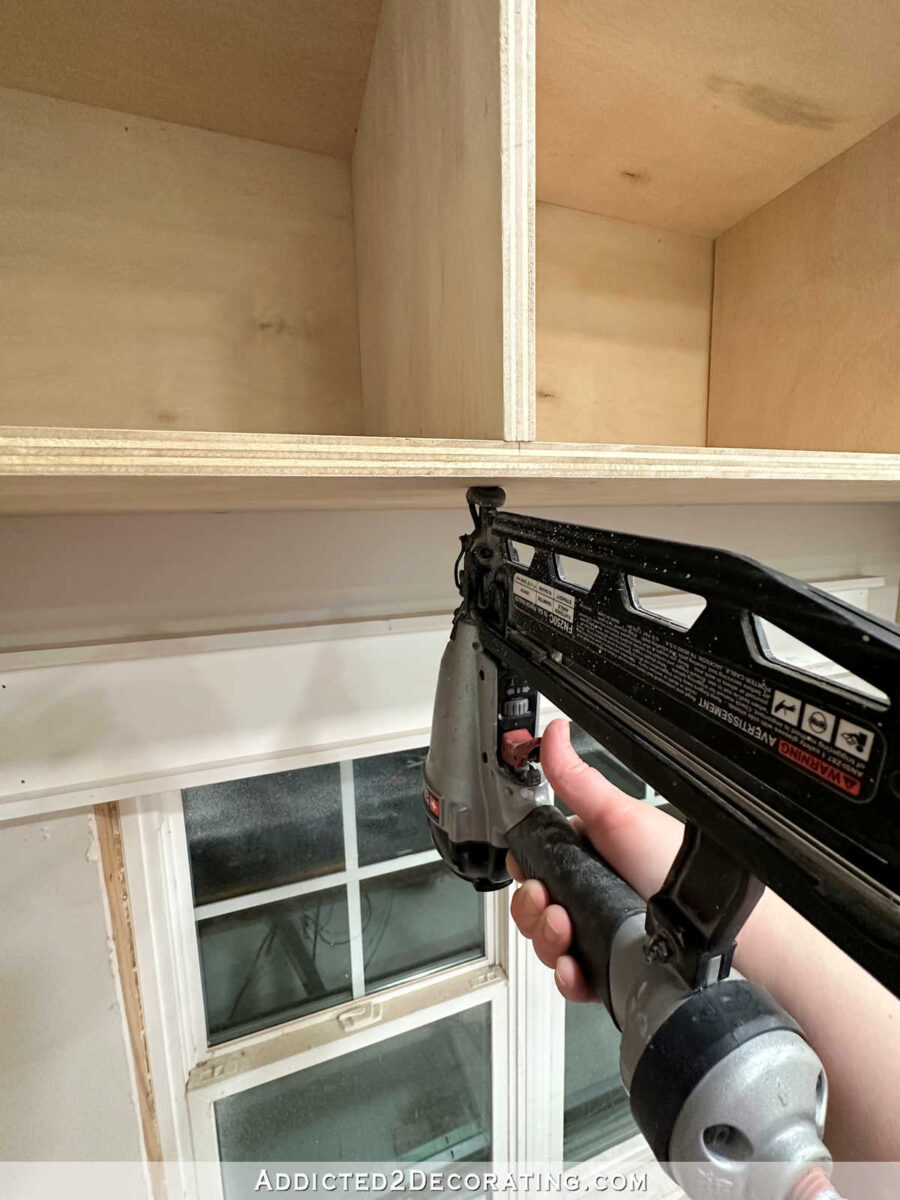
Next, I used my table saw to cut the pieces for the ends. I attached these by nailing from the inside of this side piece into the plywood on the side of the side cabinet (i.e., in the direction my nail gun is pointing below).

And then I also nailed through the bottom plywood piece and into the edge of the side piece.

After repeating that on the other end, I was ready to cut the back piece to fit inside the two end pieces. This is where the bow in that bottom board would be corrected. You can see the back piece set into place below, and the bow in that bottom board is still visible.
To secure that back piece, I first nailed through the side pieces into the edge of the back piece.

After repeating that on the other end, I nailed through the bottom piece into the bottom edge of the back piece.

This is what took care of the bow and straightened up the bottom plywood piece. You can see that there’s no longer a gap between the two pieces at this point.

To be clear, other than the six pocket screws holding the bottom piece in place, I built the entire thing using 1.5-inch 16-guage nails. I have full confidence that these nails will hold. The kind that go in a nail gun are very rough, and really grab into the wood. If you’ve ever built anything using these nails, and had to take pieces apart, you know how strong they are. But if you have less confidence than I do in how well the nails will hold, you can always use wood glue in addition to the nails, or even add more pocket holes to hold the pieces together.
Next, I cut and attached the top piece, nailing it all around the three sides that sat on the side pieces and the back piece. I nailed through the top and into the edges of those three pieces. At this point, it was really starting to look like something! 😀
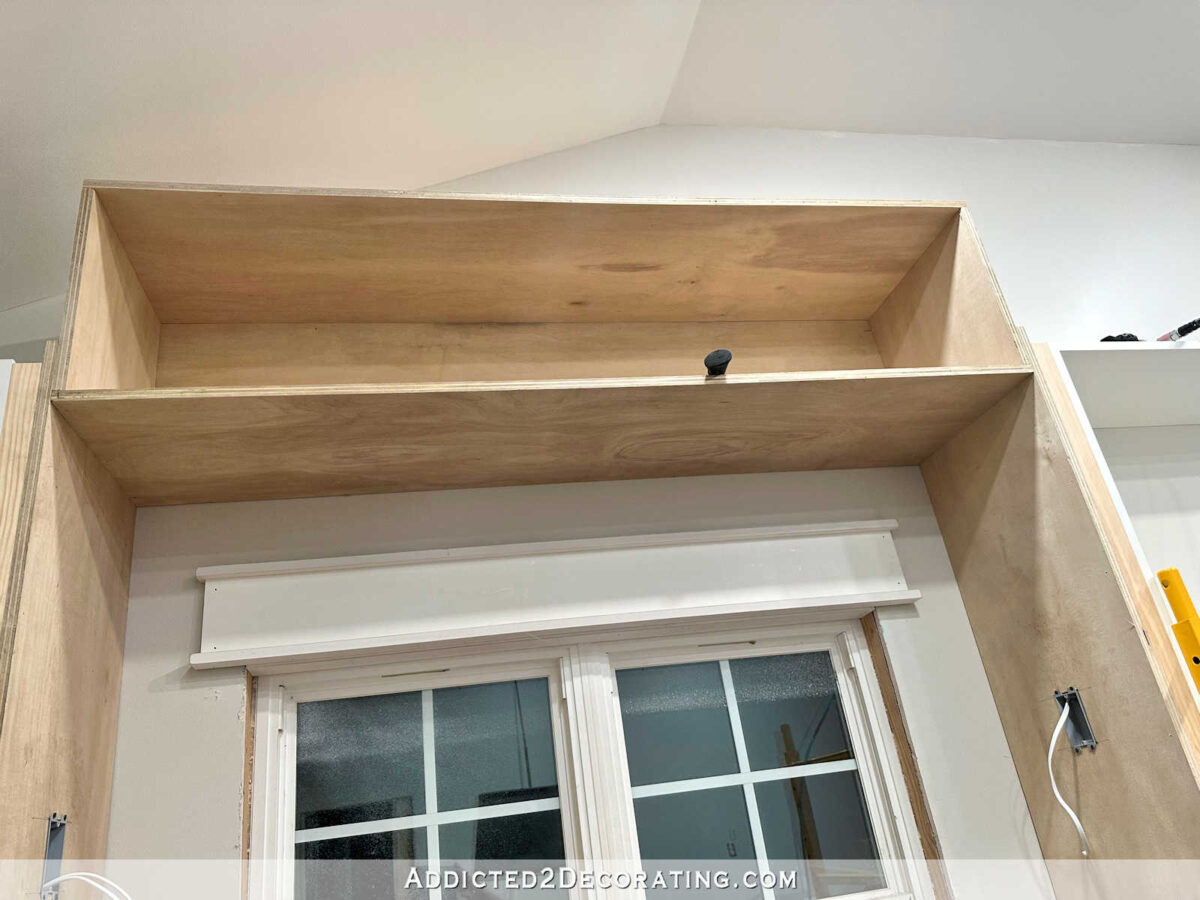
And the final step of the basic build for the cubby bridge was to cut and attach the dividers. I cut them using my table saw, and then attached them just like the other pieces.
After measuring and marking for placement of these divider pieces, I nailed through the bottom piece into the bottom edged of the divider pieces.
And then I nailed through the top and into the edges of the divider pieces.

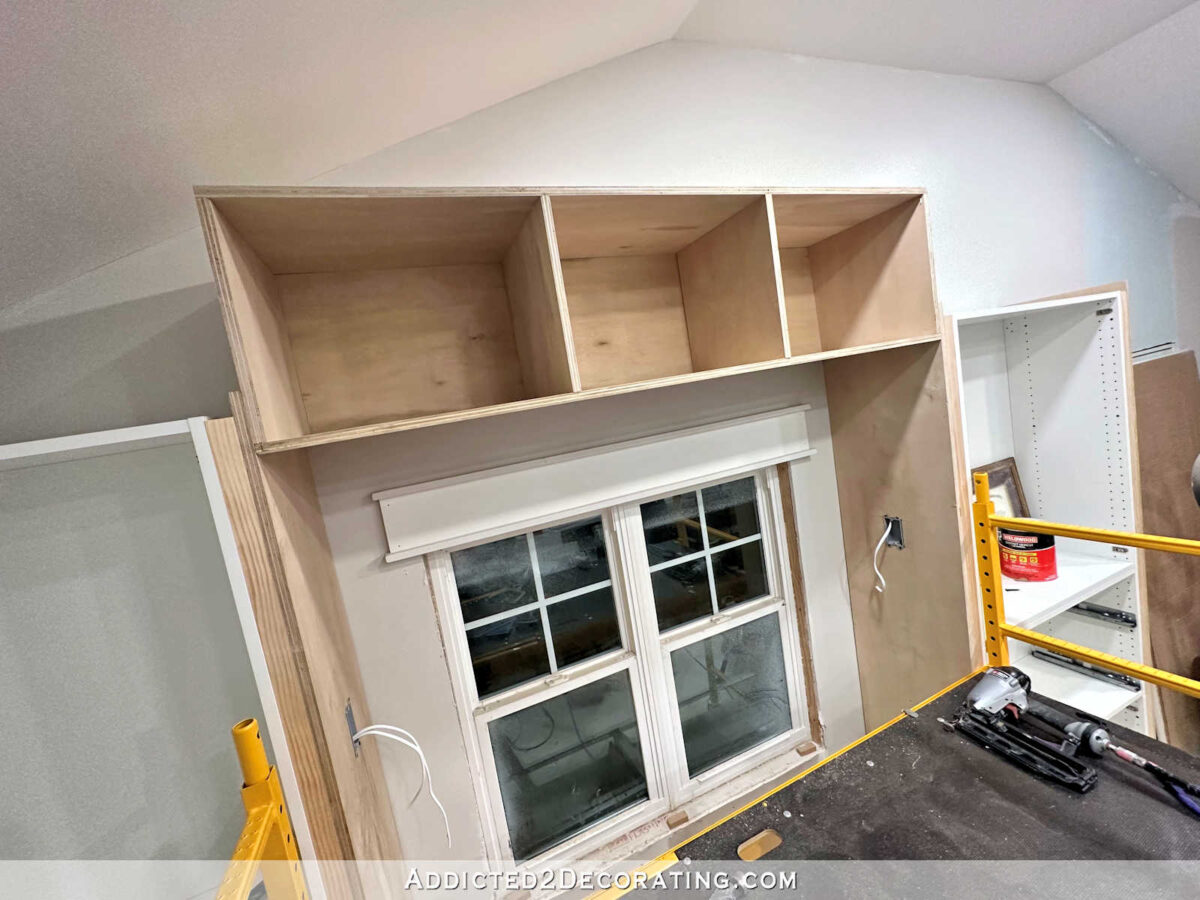
And with that, the basic build was done! It’s going to take a lot of trim and finishing to get this section of cabinets to look like I envision in my mind, but I’m well on my way!

I so wish that every single one of you could see this in person. Pictures don’t do it justice. This section of cabinets went from looking kind of small and dwarfed by that tall, wide wall, to looking very substantial, like it can hold it’s own against that huge wall. Sometimes, more is definitely better! 😀 And I think, when it’s all finished, it will look way more like custom cabinets now.
So stay tuned, because coming up next, I’ll get the whole thing trimmed out and ready for primer and paint. I’m getting really excited about seeing this section finished soon!

Addicted 2 Decorating is where I share my DIY and decorating journey as I remodel and decorate the 1948 fixer upper that my husband, Matt, and I bought in 2013. Matt has M.S. and is unable to do physical work, so I do the majority of the work on the house by myself. You can learn more about me here.
Oh my gosh! This is looking so good – and your tutorial looked really easy to follow. You are definitely a Master Creator!
Looks good!
Would you talk about or show an illustrative photo of how you were able to use the nail gun on the back underneath (with the window casing in the way) and the left top, where the ceiling seems to impede access?
It’s going to look great. I’m impressed that not only can you DIY any project you want to, but you can also take pictures during the process to show us how you did it! I know that slows you down so it is very much appreciated.
I agree, excellent pictures and even a tutorial!
The bridge actually brings the ceiling down or the bookcase up! Either way it looks fantastic! Thanks for the tutorial,
Nice job!
Way to go Girlie!!! I can’t say enough nice things about Kreg and all of their products, it practically keeps this farm together. You amaze me with what you are able to get done on your own, I am 6 feet tall, my husband is 6’8″ and our farm hand is 6’2″ and still growing. Can’t wait to see the finished product, it looks amazing, and will no doubt be the envy of anyone who dreams about a studio and workshop. Keep going we’re all pulling for you.
This build looks great! I really like how the middle bridge cabinet helps fill the space. Well done – can’t wait to see how you trim it out!
Your emails are now coming twice, once at 9:00, as always, and again at 10:00 am (PST). I always look forward to your posts. I admire your talent, skills, and perseverance.
Yes, I am getting duplicate emails lately also….one at noon and one at 1pm.
So sorry, y’all!! I thought i fixed the problem yesterday, but evidently I didn’t. 😕 I’ll take another look later today when I get home and see if I can figure out the problem. I promise, I’m not trying to spam y’all!! 🤪
You are amazing!
I love your thought process! I really enjoy how you walk us through it. Like you said work smarter not harder! What you are able to accomplish on your own is amazing, I’m looking forward to reading and seeing more!
Still got double posts from you today. First one at 11:02, second one at 12:02. Same posts. 🤷♀️😉
Oh Kristi I love the way you are building your cubbie bridge. Such smart thinking you have. I love the way you have show us the photos of every step, before and after. I’ve really learned a lot from looking through your site before I discovered you. And I’ve learned a lot more since I’ve watched you since I’ve been following you. I love your perfection. I love how you just tear right into redoing anything when it does not look like you wanted it to. You sure have taught me patience, and your perseverance is outstanding.I can’t wait to see your final finish of these cabinets.
You are amazing!!
It makes me happy to see organizational cabinetry. Is that strange? I love it! Kudos to you!
Nice job! Your ability to figure out how to do things by yourself is admirable!!
That looks great and it really gives a finishing touch to the tops of the cabinets. Just curious, I see you built them in place because you weren’t sure how you could lift it up to install by yourself. Would you have been able to build it at ground/table level and then use your drywall lift to raise it up to the height of the ledger boards, shimmy it off the lift and onto the ledger boards to secure it to the cabinets? Of course this might not have worked while on a ladder, I was just wondering.
I think that may have been dangerous because I’d have to have my drywall lift and the scaffolding both trying to occupy a very close space. It may have worked, but I think building in place was much easier.
You never cease to amaze me Kristi – awesome job! It’s going to look so ‘finished’!
You may get this twice. But I just can’t say it enough! You are amazing. It looks huge but I think when it is trimmed out and painted it will look like a piece of furniture. So I guess you had to take all the doors and drawers out to do this?
Yes, they all had to be removed so that I could add the side panels to the cabinet. They’ll stay off for now, and I’ll put them all back on once the cabinets are finished.
What a difference even this much makes! Looking SO good!!! I can’t wait to see it all trimmed out.